Update on 2020-04-11
These instructions are a little outdated. My github repo has the files I’m using and a reader has left some helpful feedback here. The flow I used to publish this update from my Linux machine (which I primarily use now for personal things) was to run docker.sh from a terminal window, and inside the container I ran cd /blog, bundle install, ./start.sh while editing this post with GNU Emacs. I’d recommend checking out the github issue as the person who reported it also shows how to run the container as a regular user which would be a best practice.
Original Post
When I decided I’d try blogging, I knew I wanted a blogging platform that gave me full control over my data, sort of like how having a custom domain gives me full control over my email. I wanted the blog entries to be written in a markdown format and checked into git. With that in mind, a quick internet search turned up GitHub Pages and Jekyll.
GitHub Pages makes it pretty easy to generate a site off content that is stored in git. Jekyll is a Ruby-based platform for generating mostly static web content. VS Code is my editor of choice when I want to open a directory of files.
The biggest feature gap in convenience here is that getting started with Jekyll requires that you have a Ruby environment set up. If I set up my desktop computer, but then decide to write a blog entry on my laptop, I would need to set up a Ruby environment a second time. Recently, VS Code added a cool feature that can help make this experience better.
The idea is that you create a Dockerfile that describes your dev environment, then VS Code will build a docker image for you, set up its remote editor tools in it, and then let you edit files within that container as if they’re on your local filesystem. Then, as long as my machines all have Docker, VS Code, and git installed, I can blog with the same experience from all of them. Maybe it is overkill for this scenario, but let’s entertain it.
Create a .devcontainer/Dockerfile based on this:
#-------------------------------------------------------------------------------------------------------------
# Copyright (c) Microsoft Corporation. All rights reserved.
# Licensed under the MIT License. See https://go.microsoft.com/fwlink/?linkid=2090316 for license information.
#-------------------------------------------------------------------------------------------------------------

# Debian and Ubuntu based images are supported. Alpine images are not yet supported.
FROM debian:9

# Configure apt
ENV DEBIAN_FRONTEND=noninteractive
RUN apt-get update \
    && apt-get -y install --no-install-recommends apt-utils 2>&1

# Install git, process tools, lsb-release (common in install instructions for CLIs)
RUN apt-get -y install git procps lsb-release

# *****************************************************
# * Add steps for installing needed dependencies here *
# ****************************************************
RUN apt-get -y install ruby-full build-essential zlib1g-dev
RUN gem install jekyll bundler

# Clean up
RUN apt-get autoremove -y \
    && apt-get clean -y \
    && rm -rf /var/lib/apt/lists/*
ENV DEBIAN_FRONTEND=dialog

# Set the default shell to bash rather than sh
ENV SHELL /bin/bash
Create a .devcontainer/devcontainer.json file:
{
	"name": "Ruby",
	"dockerFile": "Dockerfile",
	"appPort": 4000,
	"extensions": [
		"shd101wyy.markdown-preview-enhanced"
	],
	"runArgs": [
		"--cap-add=SYS_PTRACE",
		"--security-opt",
		"seccomp=unconfined"
	]
}
Create a start.sh file:
#!/bin/bash
bundle exec jekyll serve --host=0.0.0.0
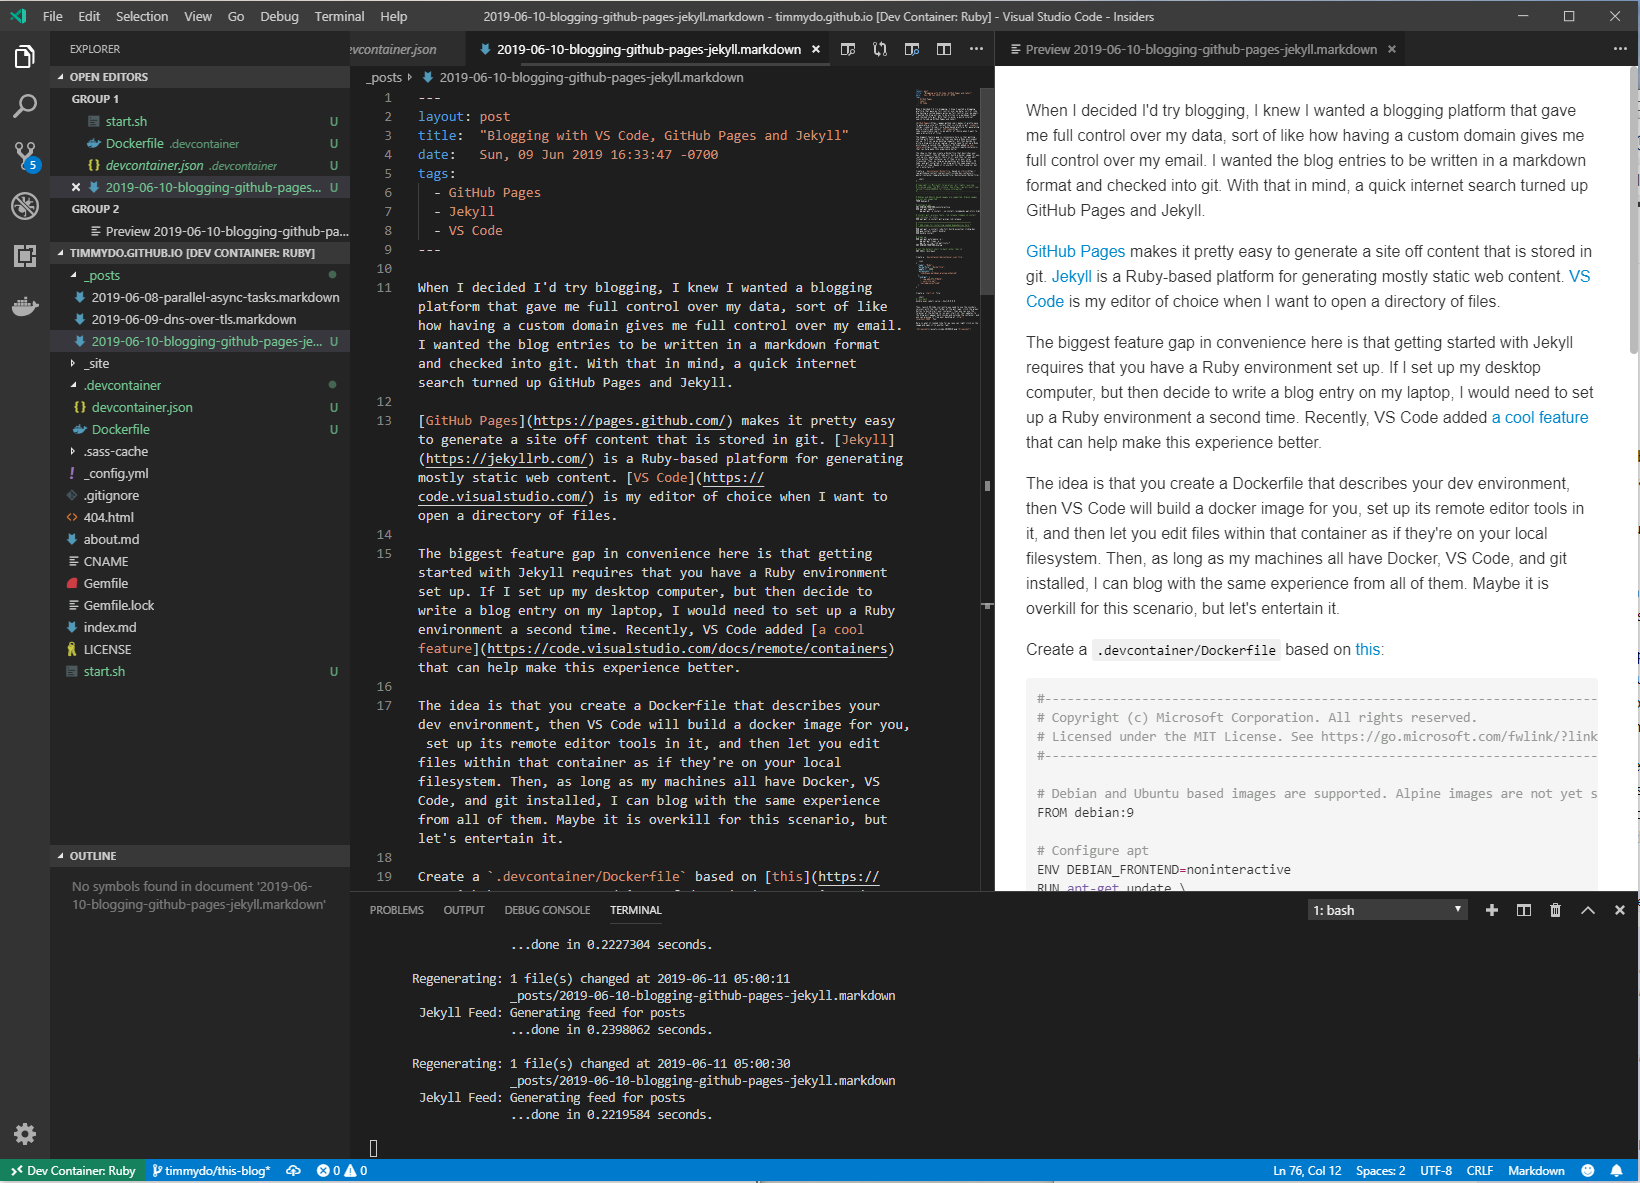
Then, launch VS Code (currently you need to use the insiders version) with the root folder of the git repo, click the green button to build/start your container, then you can use the terminal at the bottom to run your start.sh. Your updates to the blog will appear both inside and outside the container, and you can preview it from your desktop at http://localhost:4000. Fun!
Here is what it looked like for me (you can right click on the image and open it in another tab):
